So, I finally found a moment to write a bit about how we created the water for TReload. Our basic goal was to flood all of the levels with acid - a lot of acid, as the flooded area is massive :) Here’s one of the results which we got out of this process:

Visually, the acid was supposed to be similar to dirty water with a yellow tinge. A bit like this:

The acid needs to support physical interaction with objects thrown into it, i.e. it needs to have waves and foam. Secondly, it should be possible to see through the murkiness of the water. We have also thought about adding a slight wind to the levels, but we’re not sure yet.
The development of our acid consisted of various stages:
Developing instruments for manipulating the acid (more specifically, the instrument allowing us to draw texture masks for the foam)
Developing the acid itself: shaders, materials, rules of interaction, sound effects
Drawing the foam texture masks
This mechanism is pretty simple. There are essentially two textures:
The texture mask for the foam (which we’ll call ‘mask’)
The texture for the brush (which we’ll call ‘brush’)
The key to the task is to correctly blit the ‘brush’ with the ‘mask’ (using the corresponding scale and offset for the brush in order to project it correctly, onto the right area of the mask).
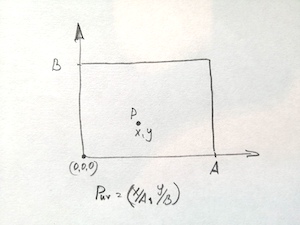
In order to be able to move the brush around the model and draw, we need the coordinates of the intersection point of the model and the brush to be carried over to the UV space.
There are two ways to do this:
Using the MeshCollider, getting from it “texcoord.xy” for the area of intersection of the Raycast ray. In this case, the coordinates will already be transferred to UV coordinates, so we just need to project the brush texture onto the right area of the mask.
Using BoxCollider and transferring the worldSpace brush coordinates to the UV coordinates manually
We chose the second option:
We added BoxCollider to the acid model
We made a RayCast
The worldSpace point of intersection between the brush ray and the acid gets transferred to acidLocalSpace
This point is then transferred to UV space. For this, we divided the coordinates of the intersection point by the acid’s dimensions:
Improvements: Cancel mechanism (ctrl+z)
When we draw an acid mask with a brush, we introduce changes to the mask, which often need to be cancelled, for example if too much foam is created or if the contrasts are too sharp. In order to introduce a cancel mechanism, we had to change our approach: we created an orthographic camera which only renders a layer of brushes. The camera dimensions corresponded to the dimensions of the acid. In the area of intersection between the brush and the mask, a brush mesh was created (rendered by the camera), and then ‘Blit’ was performed on the mask. As such, we created the possibility to cancel actions.
Here’s a short demonstration of how the mask-drawing system works:
Waves
We tried several different methods for creating the waves:
Drawing flat waves on the acid texture
Creating waves with a geometry shader over the top of the acid
Tessellation + GPU Instancing

The right-hand side of the drawing shows a wave created by a geometry shader. The left-hand side shows the flat wave.
In the end, we decided against these waves, and chose instead to make more realistic waves which are able to take into account interference and generate foam as they propagate.
Generating waves
I’ll describe this in general terms: there is a 2D “fluctuations” equation, which gets solved at each new frame. This equation allows us to generate wave propagation. Below are some more useful materials on this topic: link 1
Some useful source code for Unity: link 2
Here’s an example of the waves I managed to generate (using standard Unity tessellation and a standard shader):

The structure of the water’s surface and propagation of waves over neighbouring segments
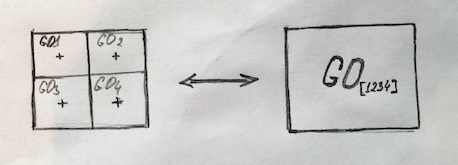
The water’s surface is made up of NxN objects with LOD. As they get further away, the objects with LOD substitute each other so that at any given distance, instead of four different objects with LOD, only one is drawn:
So, the water surface is essentially a ‘smart’ net made out of various sections. Let’s imagine that the water’s dimensions are 8x8 and the wave source is in the unit [2,4]:

Next, we reserve a certain number of neighbouring units (one from each side in my example) and project the wave propagation texture onto this section of the water’s surface. The projection of the wave propagation texture is shown in red. So, we till and offset the texture for each section of the water.
Searching for the area which the waves should be drawn on:
By the way, if the wave source is not on the edge of the water, we position the texture with the waves in such a way that it doesn’t go over the edges of the water (this isn’t shown by the video).
Here, we projected the texture which the waves are supposed to be drawn on (by setting up ‘tilling and offset’)
So, the waves propagate onto the adjoining objects too i.e. beyond just one section of the water.
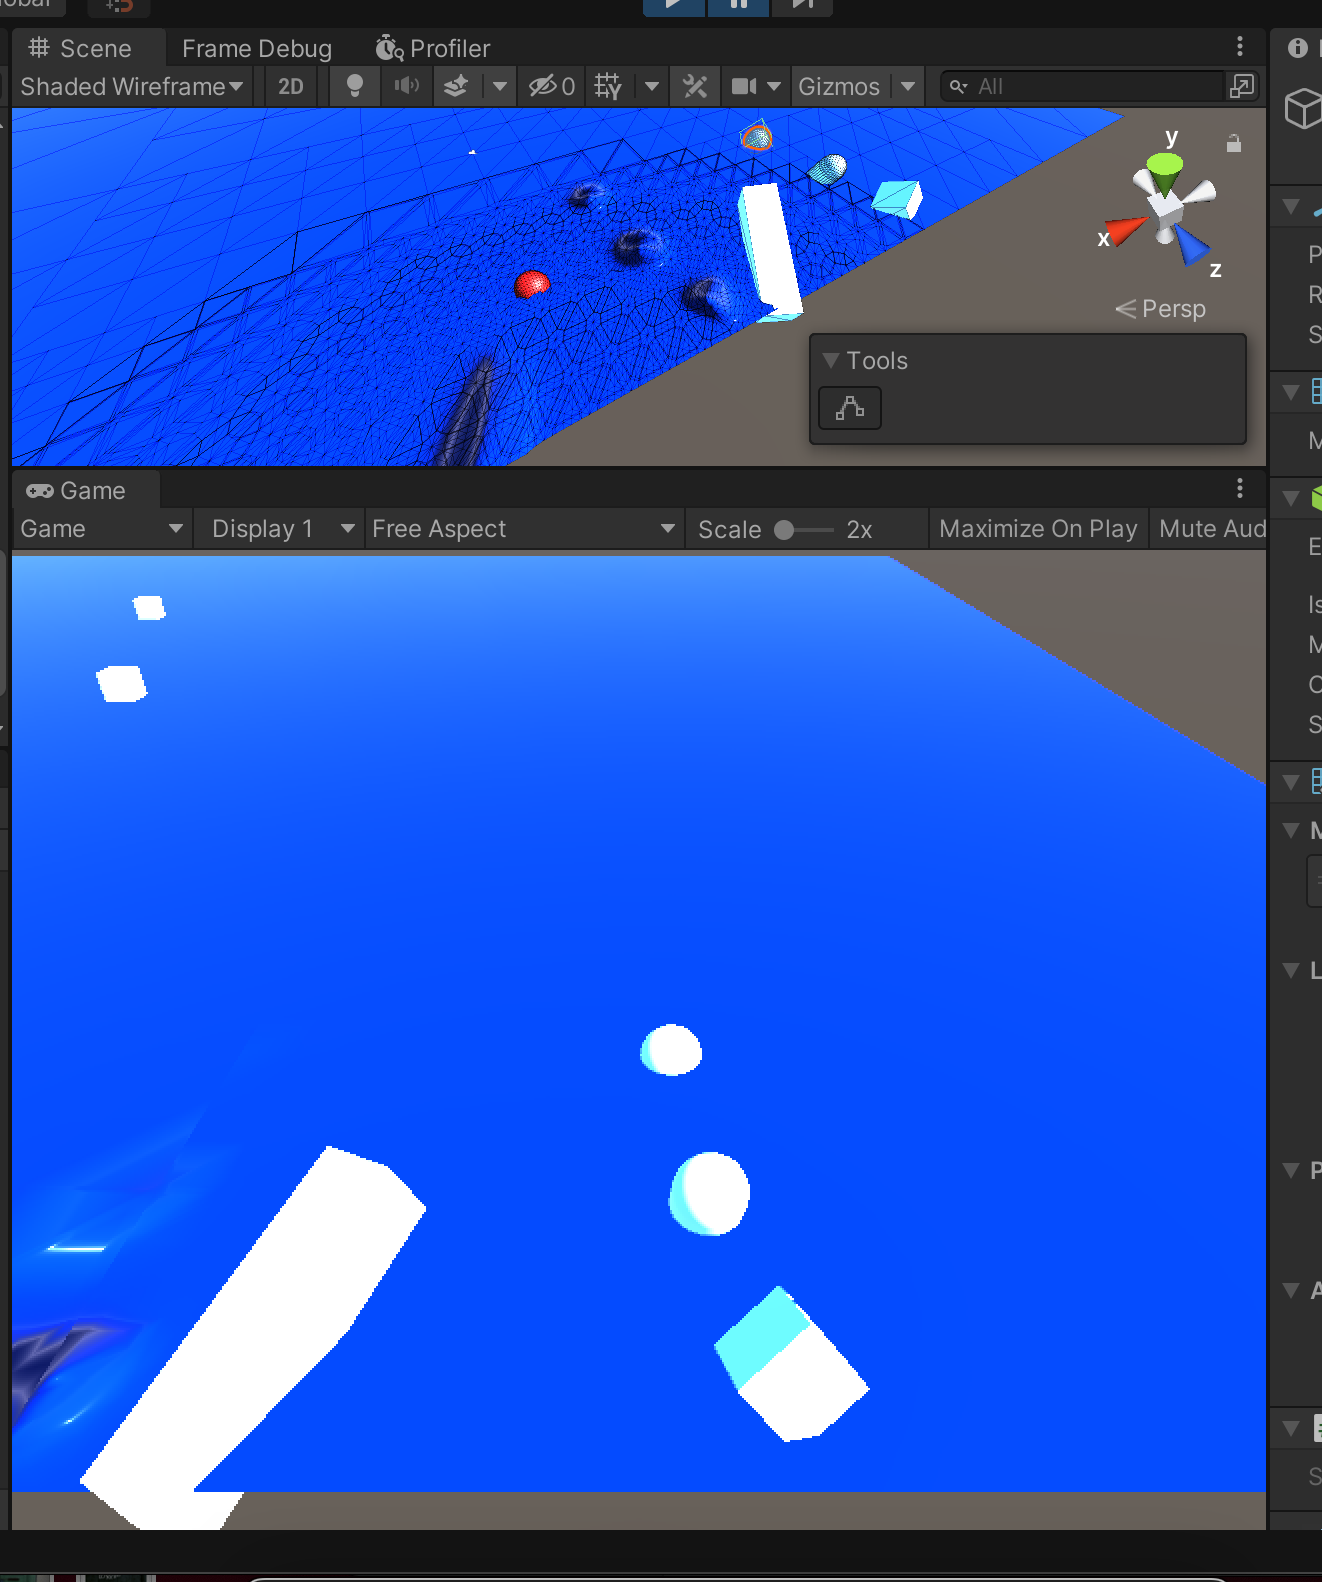
Here are the results of the water simulation and tessellation:
Generating waves from complex objects
Up until now I have explained everything in simplified terms and referenced literature on the topic of how to generate circular waves. But what if we have a parallelepiped or a capsule (or some kind of non-convex object) falling into the water?
To achieve a ‘realistic’ wave form for more complex objects, we did the following:
We rendered the falling object in the _FallTex texture (the orthographic camera renders the depth values of the falling objects multiplied by their fall speed)
Then, the _FallTex texture is blurred and this effect is repeated in the wave texture
So, we interfere with the water simulation process, and add new values to the simulation (new wave sources).
Here you can see the results of the wave simulation for complex objects:
The propagation of waves onto far-off segments
This is one of the more problematic tasks which we had to deal with. The waves can only be spread out providing additional textures are used. The player can’t just fly from place to place above the water at the speed of a bullet. So, while we do have the option to stop generating waves which are far enough away, the waves which are located close to the player still need to be smoothly carried over from one segment of the water to another as they propagate.
Here is how the water behaves moving between different sections of the water simulation:
To avoid distortions in the water, we need to have two textures: one to simulate the liquid, and one to recopy onto itself the wave section whilst the player is moving (i.e. as the central water section shifts). If we don’t do this, we can get bugs like this:
This is what happens if the object which has fallen into the water swims from [2,4] to [3,4]

Then, to make the various sections seem like one integrated body of water, we copy part of the texture from the current water simulation into the second texture. Next we make the second texture the main one and continue propagating the waves on this texture.
Why are we copying the texture? Because we need a way to start a new simulation whilst retaining the result of the old simulation (on the picture above you can see this result in the yellow area).
Artifacts
If the object/wave source is located on the boundary between different segments of the water, then artifacts can appear when the wave propagation textures are copied:


Me testing the tessellation and attempting to join together Tessellation + GPU Instancing in the Standard shader:


Well, that’s all for today!
I hope this article was useful reading and gave non-programmers an idea of the difficulties we face developing games :)
